Use Autopilot to lock down a device to your tenant by assigning a user
There’s been an update to this content! Visit this blog post for more information: Revisiting Autopilot Tenant Lockdown
One of the most common questions I get when setting up Autopilot is – “Will this prevent someone from using the device if it gets stolen?” Unfortunately, with the default configuration the answer is no. We normally set up Autopilot to allow any user to receive a laptop direct from the manufacturer, log in, and after a few moments have access to all their corporate tools. And to be clear – all of this is an incredible development, dramatically reducing the amount of time IT staff need to spend on Windows deployments.
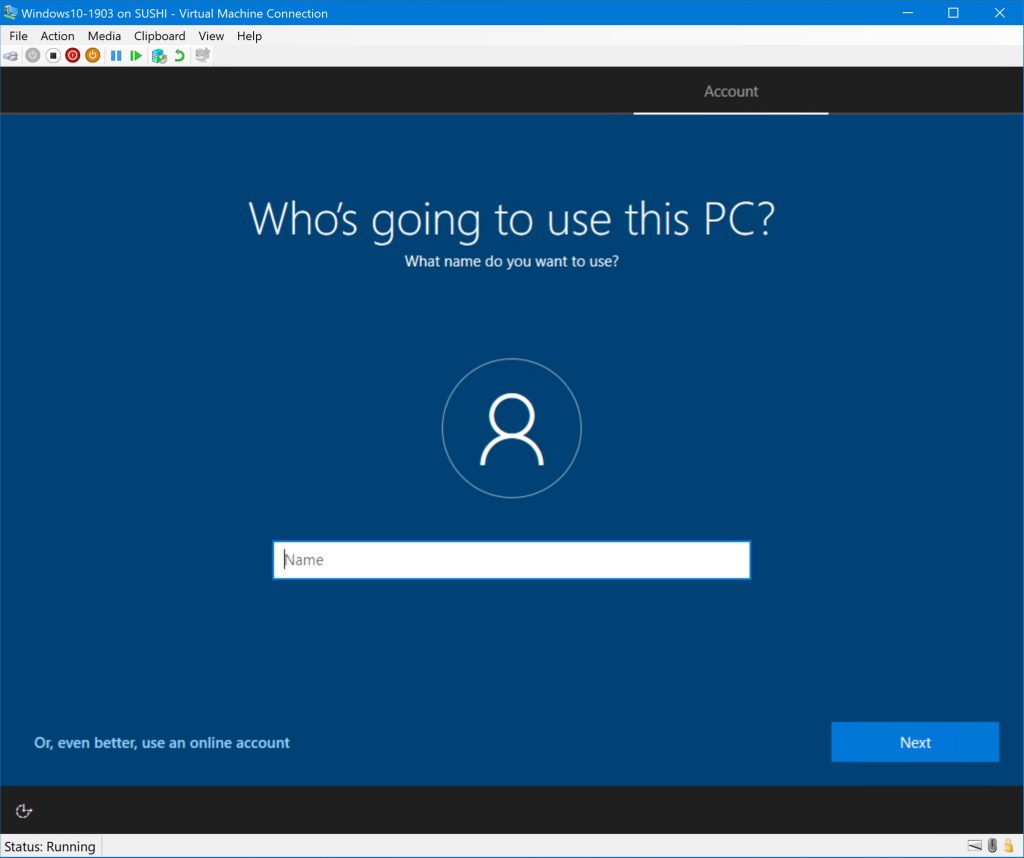
But for our scenario – it breaks down once the profile arrives to the device. When the user sees the branded login screen (walk-through coming in a future post) they can instead put in an incorrect email* and create an offline account. This allows anyone to get access to the device.
*Prior to version 1903, pressing the back button would also let you create an offline account. Pressing the back button in Windows 10 1903 simply reloads the branded tenant login screen.
So how can we get around this? In this step-by-step guide, I’ll show you how to assign a device to a single user and explain how that locks the device to your tenant.
We’ll start by heading over to the new Microsoft 365 Device Management portal. Under Device Enrollment > Windows enrollment > Devices we’ll see our list of Autopilot enabled devices. I have a virtual machine enrolled with a standard user-driven profile:

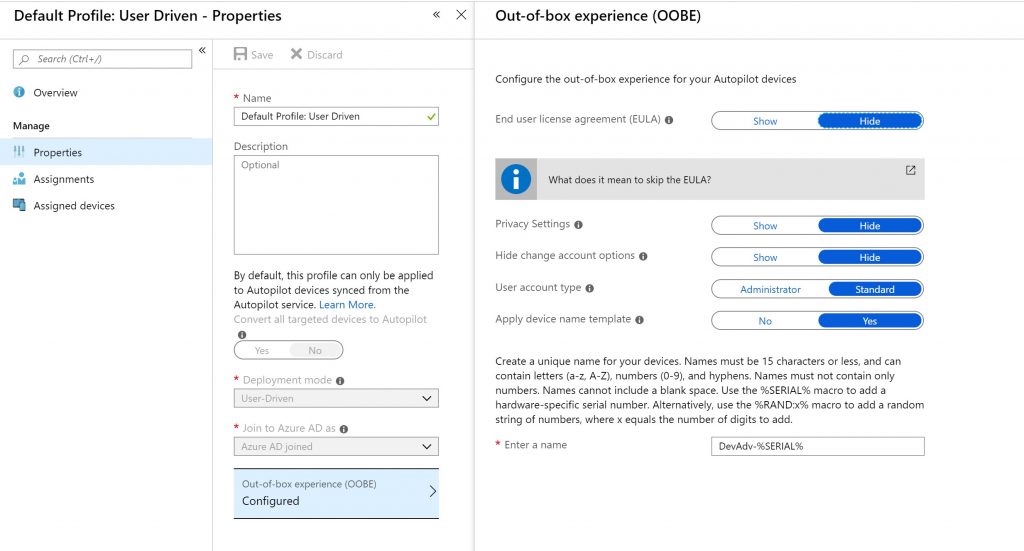
On the virtual machine itself, we’ll see that the Autopilot profile is coming down as expected:

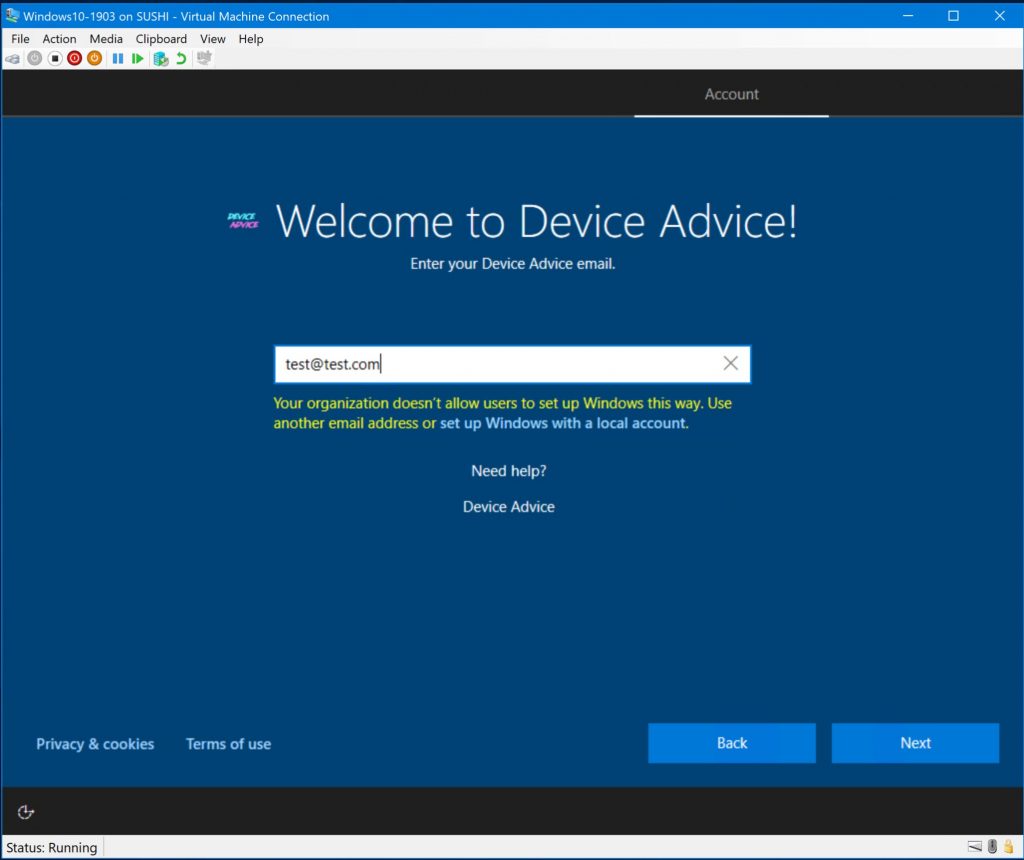
Now, if we type in a random email (such as test@test.com), we’ll be given the option to set up Windows with a local account – which we want to prevent.
Back in the device management portal, we’ll select the virtual machine and click Assign user (then select a user licensed for Azure AD P1/P2 and Intune):
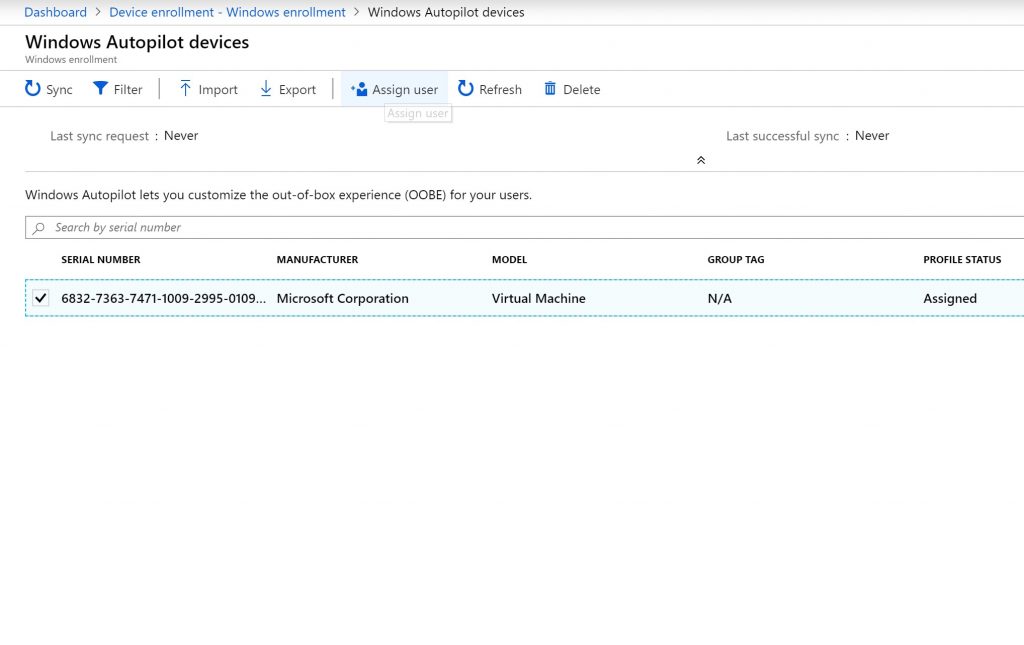

After we’ve assigned the device by clicking Save, we can click on the serial number again to verify the user:
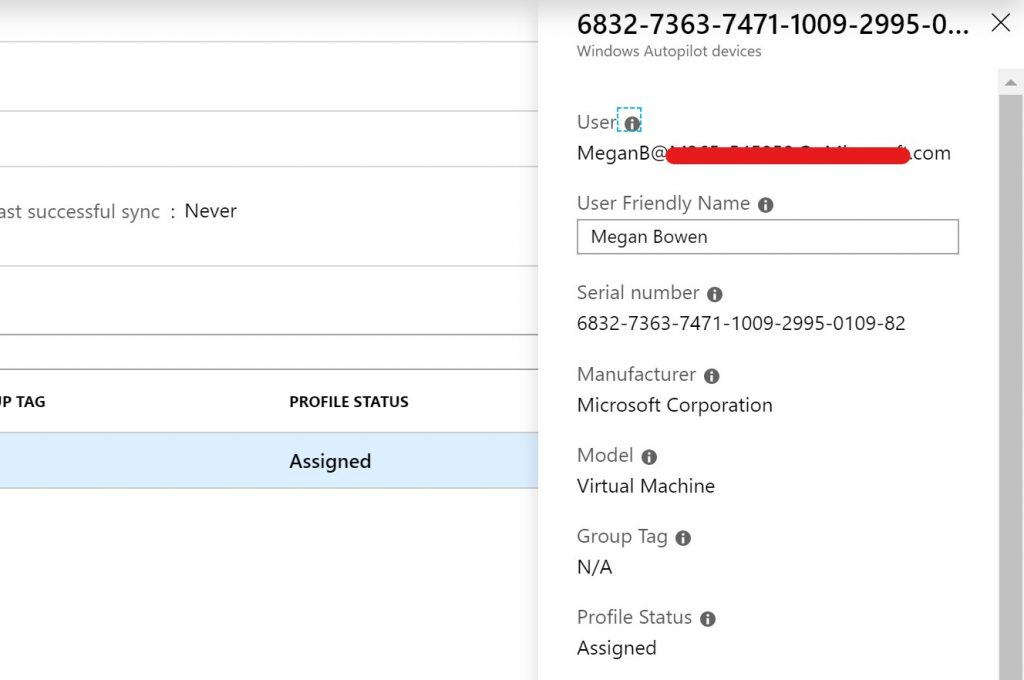
Back on the virtual machine, we’ll reboot so that it can pull down the updated profile. After clicking through the language and keyboard settings, we’ll be greeted with the User Friendly Name:
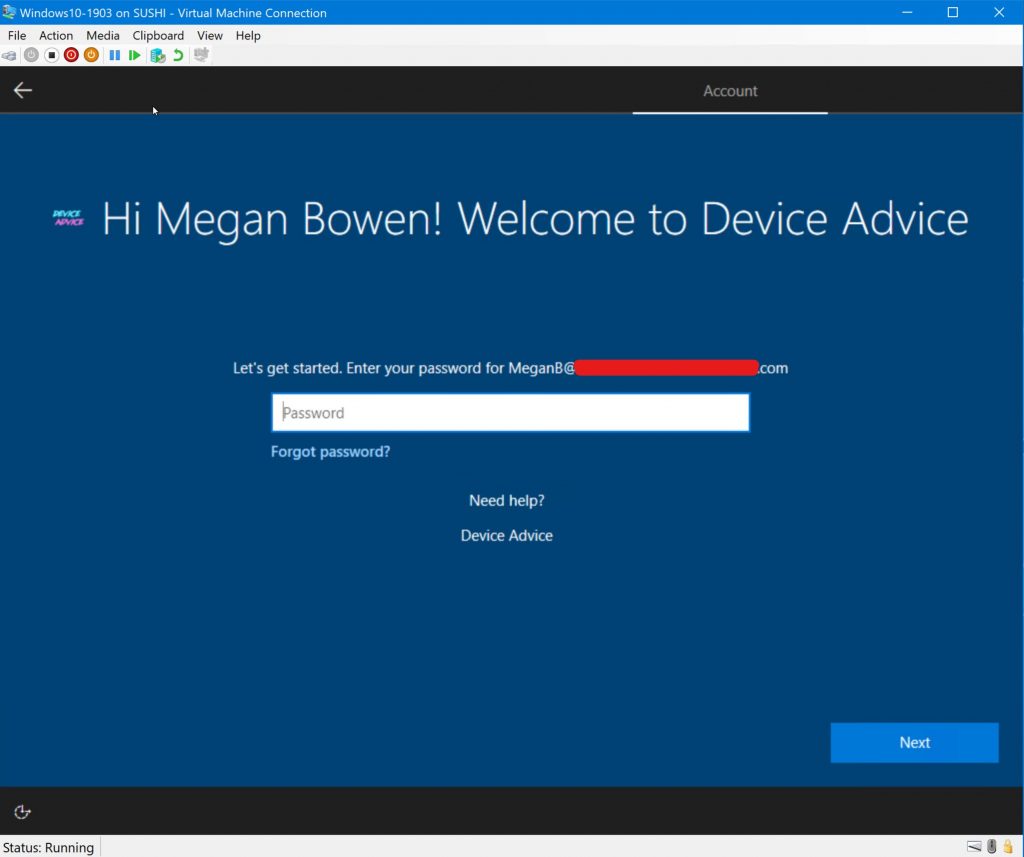
If we click the back button (now located in the top left), just like before it will simply reload the OOBE screen. Pressing Next does the same. We could type in a random password, but that only gives us the option to reset the password:
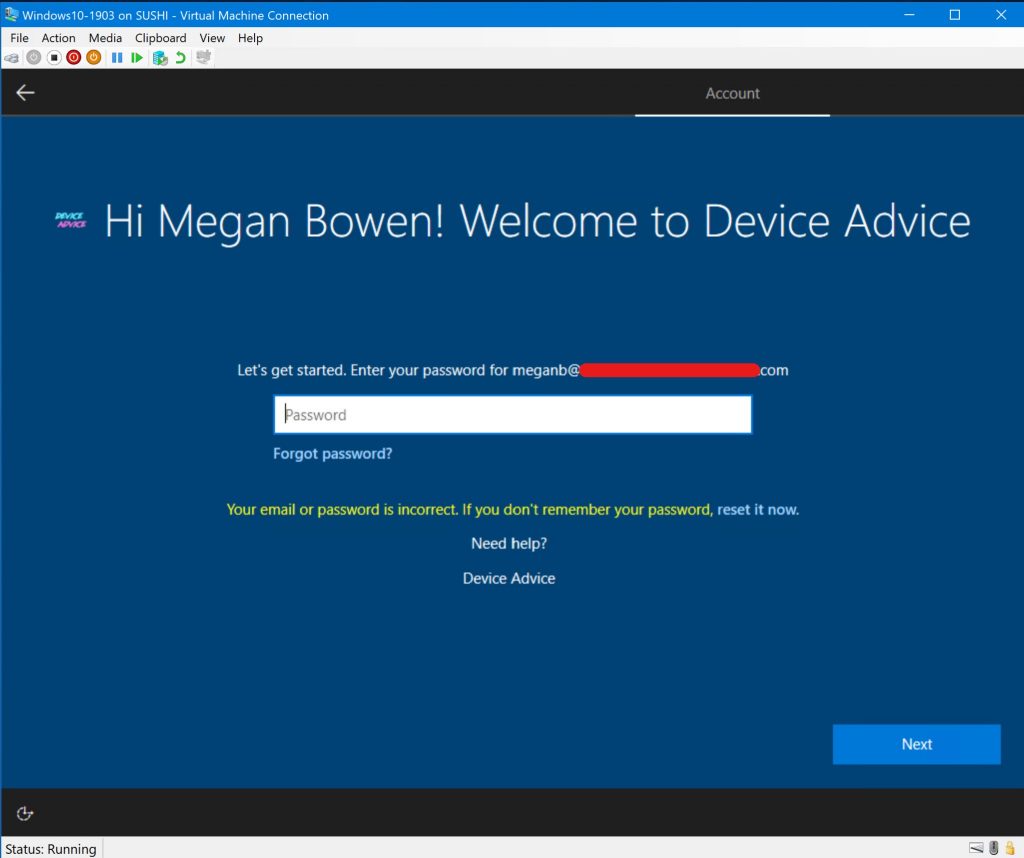
So there we have it! A device locked to our Azure tenant, preventing anyone else from using it.
There are certainly caveats to this configuration: it requires an internet connection to pull down the profile, and we have to assign each device to a user. But with this solution we are significantly closer to preventing our devices from being used outside the organization.


