Migrate from Android Device Admin to Android Enterprise
For the longest time, in order to enroll Android devices into any mobile device management platform you had to use the “Android device administrator.” Introduced in Android 2.2, this was effectively a giving the MDM fully control of your device – like a local admin.

Then with Android 5.0, “Android for Work” was released – which provided a much more modern, secure, and richer device management experience. Your organization could manage data in this container better, and as a user you had clear separation of personal and work data.

Eventually Android for Work because Android Enterprise, which continued the development of proper MDM integration. Android Enterprise also gave us a few new things:
- Corporate only devices (or as Intune calls it, “Android Enterprise fully managed device”)
- Yes, believe it or not, before Android Enterprise you had to use a personal Google account to get access to the Play Store, download the Company Portal, and enroll your device
- Now you can deploy apps without a Google account too!
- Kiosk mode (“Android Enterprise dedicated device”)
- Zero touch deployment
A huge leap forward! Android Enterprise still supports Android Work Profiles (as their now called), which continues to provide a great BYOD scenario for anyone using an Android device. And, for those looking to seamlessly just manage the apps, mobile application management without enrollment is still a recommended approach for Intune.
Phew – now we know the history. So, what’s the scenario?
If your organization has been using Android Device Admin’s to manage your mobile devices, chances are you’ll need to migrate to Android Enterprise soon (Android 10 is already losing some device administrator features). The bad news is that there’s no great way to migrate users to Android Enterprise. Right now, you have to unenroll them from Intune and then begin the enrollment process again – which isn’t great. Let’s see how this will look:
First, head over to the Microsoft Endpoint manager admin center and click on Devices > Enroll devices – Enrollment restrictions > All Users – Properties. Click edit, and start blocking the Android device administrator and allowing Android Enterprise.


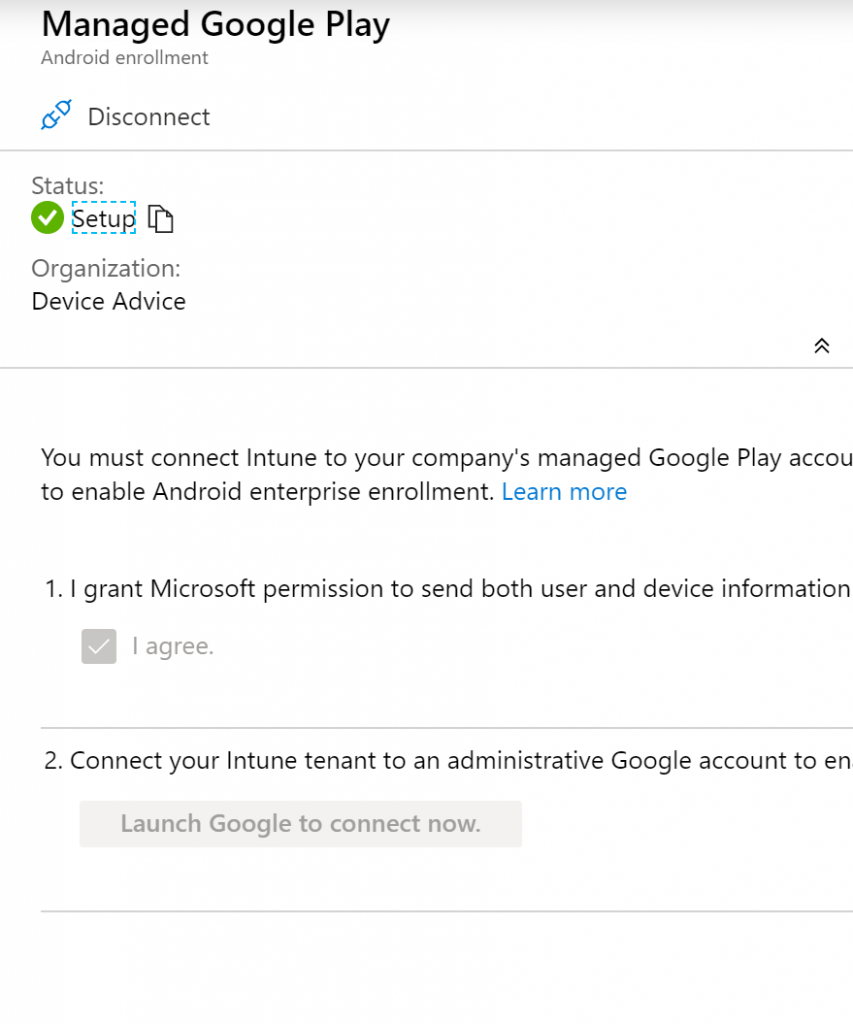
Then, in the Enroll devices pane, select Android enrollment. Here we’ll enable Android Enterprise. Begin by clicking on Managed Google Play and then syncing a Google account.


Once that’s configured, let’s take a look at the Enrollment Profiles. Here we have 3 options depending on our scenario. Enrollment Profiles is the BYOD option, where users download the company portal app on their personal device, enroll just like before, but enjoy the better Android Enterprise experience with work icons dictating which apps are managed.
If that’s your scenario – congrats, you’re done! There’s no other configuration necessary. You have two options: wait for users to get a new device and update your end user communications about the enrollment options, or, wipe the corporate data off your users devices and have them reenroll manually. (Again, not great, but that’s all we have). This is also assuming you’ve been targeting your policies and apps to dynamic user groups.
Let’s try out what I think is the more fun scenario – moving “corporate” devices from Device Admin to Android Enterprise fully managed devices. Here we have a few options – use a NFC tag, let users scan a QR code or type in a token, or using Google Zero Touch. Just like Autopilot, Google’s Zero Touch preconfigures devices to enroll in your tenant by assigning their corporate identifies in the cloud (in this case Google’s cloud). Sadly, even though you can attempt to log in to the Zero-touch enrollment portal, a partner/reseller has to set up an account for you to access it.
Just like with the BYOD option, we have to remove Intune from the device. Since we’re going to go for a fully corporate managed device, open the device pane and select Wipe to fully reset the device.

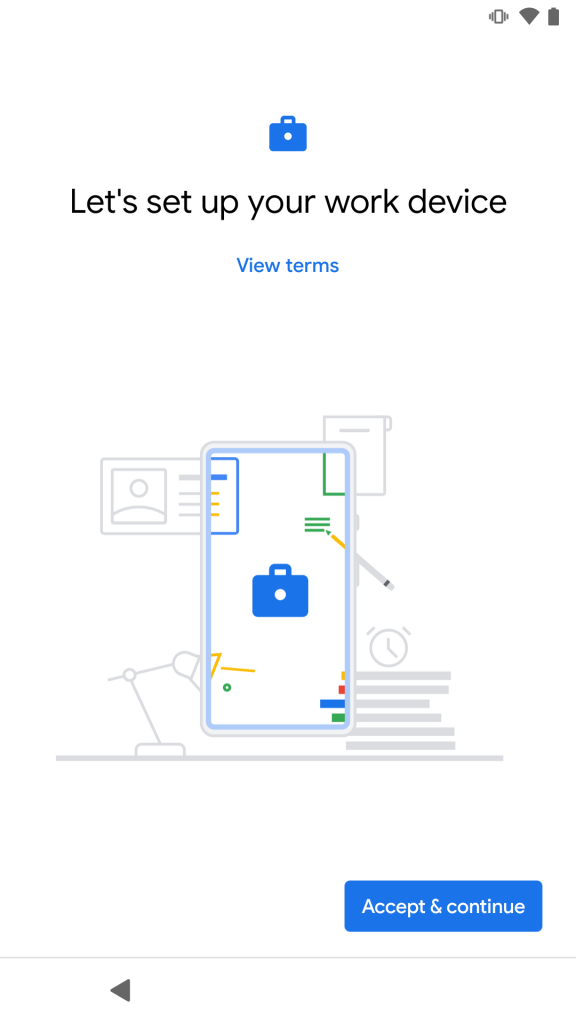
Once the device is reset, you can either 1) type afw#setup into the Google sign-in screen to manually type in the token or 2) tap the screen five times to open the QR Reader. You can grab either of these from the Android enrollment pane. Once you grab the token, you’ll walk through the rest of the enrollment process (namely logging in and installing apps). Here’s a a step by step look at the entire process:
The Microsoft Launcher isn’t automatically set unfortunately, but once you click the home button it will be presented as an option. I expect this to be added as a feature soon.
Let us know if you have any questions about the migration experience! I spent some time looking at removing Chrome in favor of Edge, but it seems like that’s not possible for now.


